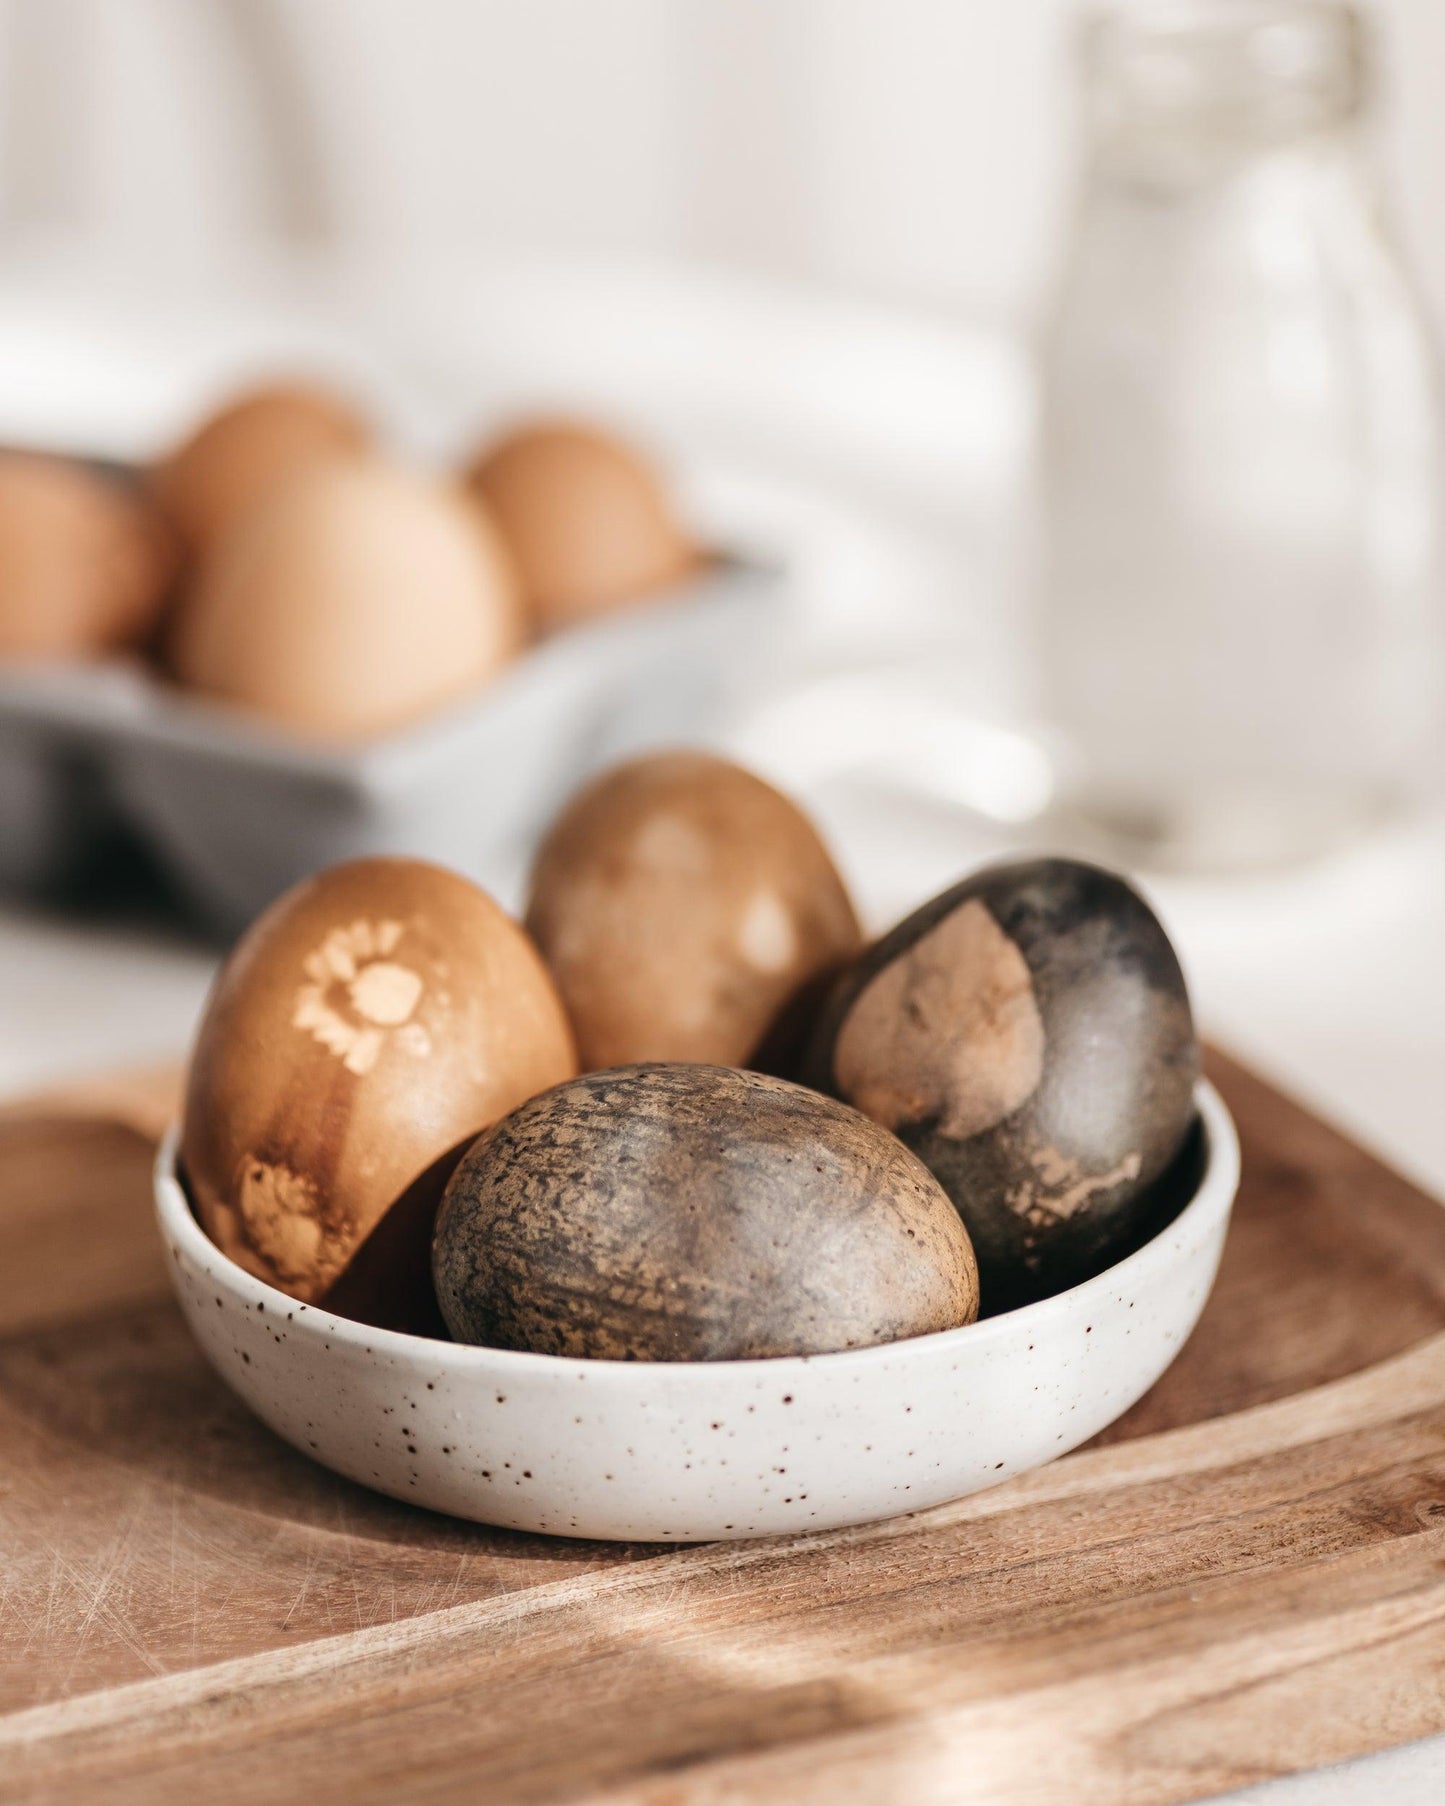

Keeping with the Easter theme we dyed eggs, but you can use the same techniques to dye material or thick paper.
Materials:
Hard-boiled (or blown out) eggs
Cheese-cloth
String (6-7” lengths) or rubber bands
Mugs/glass jars for dye and spoons to retrieve the eggs
Natural Dye items - we used beetroot and blueberries
Vinegar
Herbs, Leaves, or Flowers for imprinting
Wire Rack or cutting board to dry dyed items
Method:
Prepare your ingredients, so chop any large vegetables like beetroot or red cabbage in to chunks. Add each individual dye matter, (red cabbage, blueberries, grapes, etc) to a pot of water and bring it to a boil. Turn the heat down to low and simmer, covered, for approximately 15 to 30 minutes.
Then, use a slotted spoon to strain out extra pieces of the dye matter so you only have liquid remaining. Let it cool to room temperature and pour into mugs or a glass jar. You can add 1 tbs of vinegar per cup of strained liquid. As this can result in more vibrant-colored eggs.

Cut your cheese-cloth into small squares and set aside.
Select your imprint materials. Small leaves from herbs work great for eggs. Or small flowers like the little daisies you can find in your lawn.
One at a time, select one sprig and carefully hold it firmly against the egg. Tightly begin wrapping one of your cheese-cloth squares over it, twisting all the ends together to hug the egg firmly. (You can also use an old pair of panty hose). Secure the cheese-cloth tightly with a piece of string or a rubber band.

Once all your eggs are wrapped, submerge the egg entirely into you choice of dye. Repeat with all eggs/sprigs you’d like to try. Note: Be sure your sprig, leaf, or flower looks flat and tight against the egg, as that is the portion of the egg that will not color, thus, imprinting the egg after it’s dyed.
Place the mugs of dye (with the submerged eggs inside) into the refrigerator until the desired colour is achieved. You only need to do this if you have hard-boiled the eggs and want to eat them later, otherwise you can leave them on the bench and check them regularly. Some of the eggs coloured in a few hours; others, took 2 days.

Once you reach the desired colour, remove the eggs from the dye baths and place them on a baking rack or cutting board to allow them to dry for a few minutes. Then, carefully cut the string and unwrap the cheese-cloth to reveal your imprint and your naturally dyed egg.

Head on over to our instagram page if you'd like to see a video tutorial showing all the steps.
